
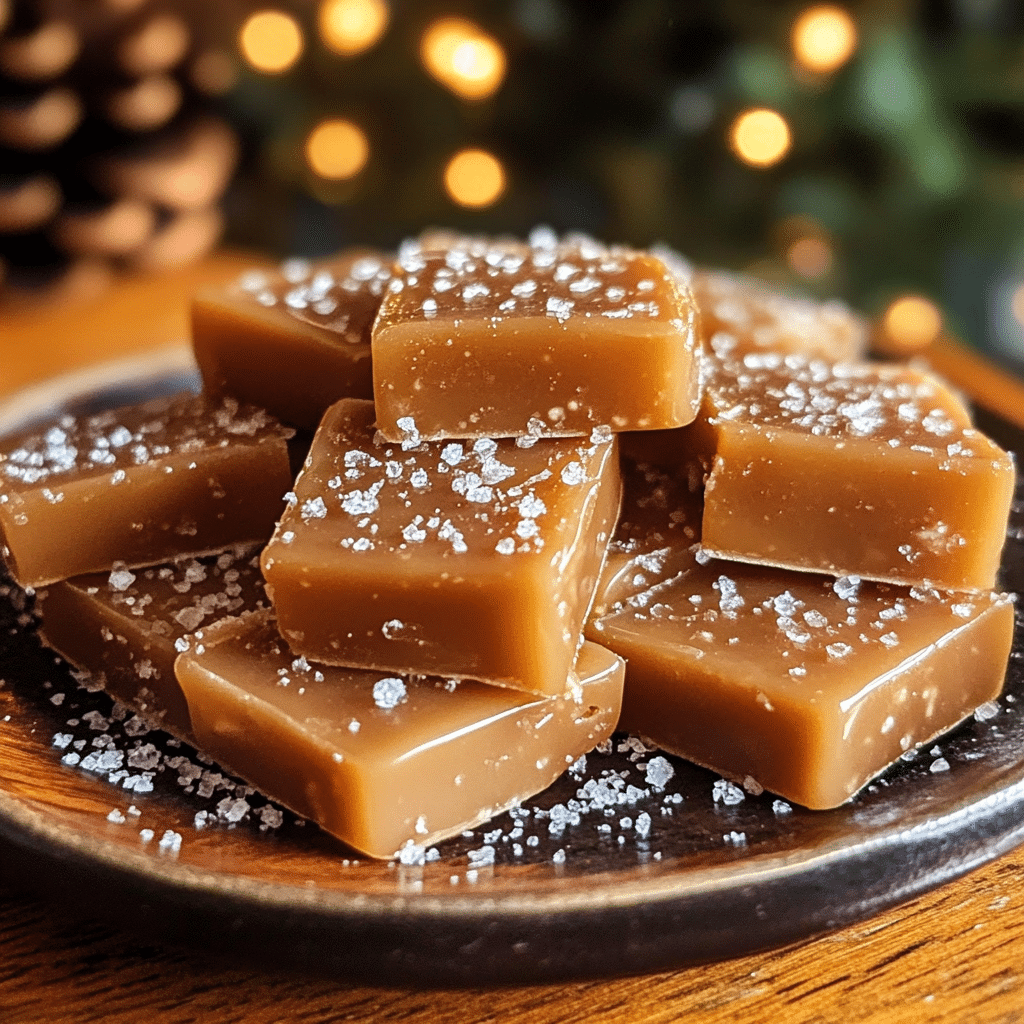
The holiday season is synonymous with sweet treats, and nothing says Christmas quite like homemade caramels. These rich, buttery confections have the perfect balance of sweetness and saltiness, and they’re guaranteed to be a crowd-pleaser at your holiday gatherings. Making caramels from scratch is surprisingly easy, and the results are far superior to store-bought versions. The creamy texture, golden color, and melt-in-your-mouth taste make these Homemade Christmas Caramels a must-try recipe for anyone looking to spread festive cheer.
Homemade caramels are also the perfect gift idea during the holidays. Wrapping them in festive packaging and sharing them with loved ones is a thoughtful way to show you care. Whether you’re serving them at a Christmas party, giving them as gifts, or enjoying them yourself, these caramels will add a special touch to your celebrations. The best part is that they’re incredibly versatile—you can drizzle them with chocolate, sprinkle with sea salt, or leave them plain, depending on your taste.

Why You’ll Love This Recipe
1. Classic Holiday Treat
Homemade Christmas caramels are a nostalgic and festive treat that will make your holiday season feel even more special.
2. Simple Ingredients
This recipe uses a few basic ingredients—heavy cream, butter, sugar, and vanilla—making it easy to prepare without a lot of fuss.
3. Customizable
You can easily customize these caramels by adding chocolate drizzle, sea salt, or even a dash of cinnamon for a unique twist.
4. Perfect for Gifting
Packaged in small gift boxes or bags, these homemade caramels make an elegant and thoughtful gift for friends, family, or neighbors.
5. Melt-In-Your-Mouth Goodness
These caramels have the perfect chewy texture, rich flavor, and a buttery finish that melts in your mouth, making them irresistible.
Ingredients
- Granulated sugar
- Unsalted butter
- Heavy cream
- Light corn syrup
- Vanilla extract
- Coarse sea salt (optional)
- Chocolate chips (optional, for drizzling)
Variations
- Sea Salt Caramels: Sprinkle coarse sea salt over the caramels once they’ve cooled to create a sweet and salty combination.
- Chocolate-Dipped Caramels: After the caramels set, dip them in melted chocolate for an extra decadent touch.
- Cinnamon Caramels: Add a teaspoon of cinnamon to the mixture for a warming holiday flavor.
- Nutty Caramels: Stir in crushed nuts like pecans, almonds, or walnuts for a crunchy twist.
How to Make the Recipe
Step 1: Prepare the Pan
Line an 8×8-inch square baking dish with parchment paper or lightly grease it. This will make it easier to remove the caramels after they set.
Step 2: Cook the Sugar and Syrup
In a large, heavy-bottomed saucepan, combine the sugar, corn syrup, and butter. Heat over medium heat, stirring constantly until the mixture begins to bubble and the butter has melted. Keep stirring to ensure the sugar doesn’t burn.
Step 3: Add the Cream
Slowly pour the heavy cream into the mixture while stirring. Be careful, as the mixture will bubble up when the cream is added. Continue to cook the mixture, stirring constantly, until it reaches a deep golden color.
Step 4: Check the Temperature
Using a candy thermometer, cook the caramel until it reaches 240°F (115°C), or the soft ball stage. This can take about 15-20 minutes, so be patient and continue to stir occasionally to avoid burning.
Step 5: Add Vanilla and Remove from Heat
Once the caramel has reached the desired temperature, remove the saucepan from the heat and stir in the vanilla extract. If you’re adding sea salt, sprinkle a pinch into the mixture at this point.
Step 6: Pour into the Pan
Carefully pour the hot caramel into the prepared baking dish. Allow it to cool at room temperature for about 30 minutes, then refrigerate it for at least 2 hours, or until firm.
Step 7: Cut and Serve
Once the caramels are fully set, remove them from the pan and cut them into squares using a sharp knife. If desired, drizzle with melted chocolate or sprinkle with extra sea salt for added flavor.
Step 8: Store and Enjoy
Store your homemade Christmas caramels in an airtight container at room temperature for up to two weeks. If you’ve added chocolate drizzle, refrigerate them to prevent the chocolate from melting.

Tips for Making the Recipe
- Be Patient with the Temperature: It’s important to cook the caramel to the correct temperature (240°F or 115°C) for the perfect chewy consistency. Use a candy thermometer for accuracy.
- Stir Constantly: To prevent the caramel from burning or sticking to the pan, be sure to stir constantly while cooking.
- Avoid Overcrowding: If you’re making a larger batch, it’s best to cook it in stages rather than overcrowding the pan.
- Cool Slowly: Let the caramel cool completely before cutting it into squares to ensure that it holds its shape.
- Wrap in Wax Paper: To make the caramels easy to gift, wrap each piece individually in wax paper for a neat presentation.
How to Serve
These Homemade Christmas Caramels are perfect on their own as a sweet treat, or they can be served alongside coffee or hot chocolate as a delightful holiday snack. They also make a great addition to a holiday dessert platter, adding variety alongside cookies and other sweets.
Make Ahead and Storage
Storing Leftovers
Store leftover caramels in an airtight container at room temperature for up to two weeks. If you’ve added chocolate drizzle, store the caramels in the fridge to prevent the chocolate from melting.
Freezing
You can freeze homemade caramels for up to 3 months. To freeze, wrap them individually in wax paper and store them in a freezer-safe container. Thaw at room temperature before serving.
Reheating
Since the caramels are best served at room temperature, there’s no need to reheat them. If they become too soft, simply refrigerate them for a short time to firm them up.
FAQs
1. Can I use salted butter in this recipe?
Yes, using salted butter will add a slight salty flavor to the caramels, but if you’re planning to add sea salt later, be cautious not to over-salt.
2. What’s the best way to check the caramel’s temperature?
Using a candy thermometer is the most accurate way to check the temperature. If you don’t have one, you can also test the caramel by dropping a small amount into a glass of cold water. If it forms a soft ball, it’s ready.
3. Can I use half-and-half instead of heavy cream?
Heavy cream is recommended for the best texture and richness, but you can substitute half-and-half in a pinch. Just be aware that the caramels may be a little less creamy.
4. What if I don’t have a candy thermometer?
If you don’t have a thermometer, you can use the cold water test. Drop a small amount of the caramel into cold water and see if it forms a soft ball when you press it between your fingers.
5. Can I add other flavors to the caramels?
Absolutely! You can infuse the caramels with flavors like vanilla bean, cinnamon, or even coffee. Add flavoring once the caramel has reached the right temperature and is off the heat.
6. Can I make the caramels without corn syrup?
Corn syrup helps prevent the caramels from crystallizing, but if you don’t have it, you can substitute with honey or maple syrup. The texture might vary slightly.
7. Can I use brown sugar instead of white sugar?
You can use brown sugar for a deeper, molasses-like flavor, but it will change the final texture of the caramels slightly. Stick to granulated sugar for the best result.
8. Can I add nuts to the caramels?
Yes, adding chopped nuts like pecans or walnuts is a great way to add some crunch and extra flavor. Simply stir them into the caramel mixture just before pouring it into the pan.
9. How long does it take for the caramels to set?
The caramels need to chill in the refrigerator for at least 2 hours or until firm. You can also leave them at room temperature for a few hours to cool.
10. Can I make these caramels ahead of time?
Yes, these caramels are perfect for making ahead of time. They can be stored in an airtight container at room temperature for up to two weeks or frozen for longer storage.

Conclusion
Homemade Christmas Caramels are the ultimate holiday treat, combining a smooth, buttery texture with the perfect balance of sweetness and saltiness. They’re easy to make, customizable, and perfect for gifting or serving at festive occasions. With a little patience and the right ingredients, you can create these melt-in-your-mouth caramels that will have everyone coming back for more. Whether you enjoy them as a snack, share them with friends and family, or give them as gifts, these homemade caramels will bring joy to your holiday season.